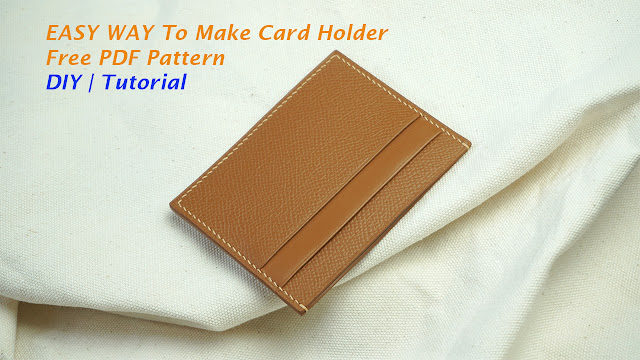
Leather card holders are both stylish and practical accessories that can help you keep your credit cards, business cards, and other important cards organized. In this comprehensive guide, we will walk you through the process of making your own leather card holder from scratch, using high-quality materials and tools. This step-by-step tutorial will cover everything you need to know, from choosing the right leather to stitching the final product.
Supplies and Tools
Before you begin, make sure you have the following supplies and tools on hand:
- Leather (color and type of your choice)
- Pen & Cardboard: For creating a pattern
- Utility knife
- Ruler
- Hammer
- Diamond Chisels or leather hole punch
- Contact cement (also known as dog glue) - For gluing the ends of the leather
- Polyester thread, needles in various sizes
- Leather stitching clamp (optional, but helpful)
Choosing the Right Leather

The first step in making your leather card holder is to choose the right type of leather. There are no strict rules when it comes to choosing leather for a card holder, but it's important to select a material that is neither too thick nor too thin, as this can affect the durability and appearance of the final product. In this tutorial, we will be using tanned cowhide, which is a versatile and widely available type of leather. Feel free to choose a leather color and texture that suits your personal taste.
Creating a Pattern
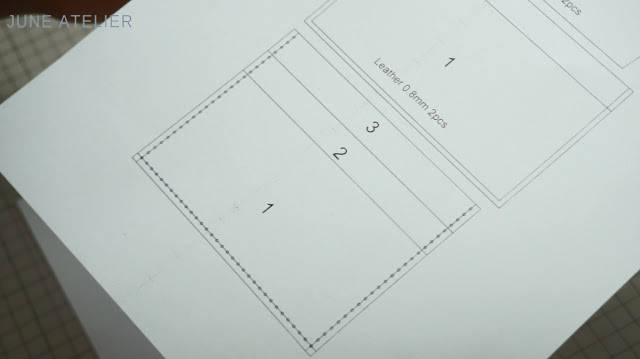
Before you start cutting your leather, you'll need to create a pattern for your card holder. The size and shape of your card holder can vary depending on your preferences, but a standard size would be roughly the size of your palm or slightly smaller.
To create your pattern, first, draw the desired shape onto a piece of paper or cardboard. In this tutorial, we will be using a pattern size of 75×110 mm for the main piece.
Cutting the Leather
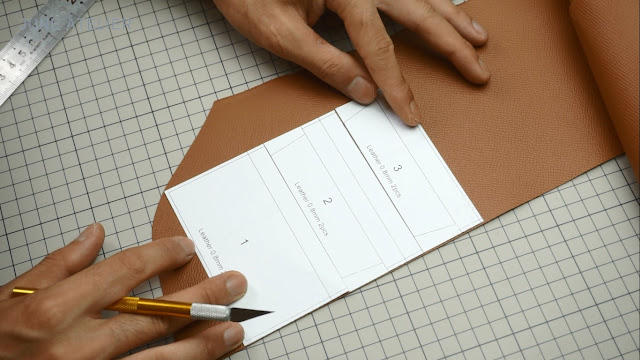
With your pattern ready, it's time to cut your leather. First, trace the pattern onto your chosen sheet of leather using a pen or another marking tool. Be sure to make your marks as precise as possible to ensure a clean and professional final product.
Next, carefully cut your leather along the traced lines using a utility knife and a straight ruler. Holding the ruler firmly in place will help prevent any accidental cuts or jagged edges.
Skive the T-slots
Attach the Polyester fabric linning
Gluing the Edges
Once your leather pieces have been cut, it's time to glue the edges together. Apply a thin layer of contact cement (dog glue) to the edges of your three leather pieces, following the manufacturer's instructions for drying times.
After the glue has become tacky, carefully press the edges of the leather pieces together, using a hammer to lightly tap along the entire edge to ensure a strong bond. Alternatively, you can use your fingers to press the edges together.
Punching Holes
Before you can begin stitching your card holder, you will need to punch holes in the leather. Leather is often too tough for needles to easily pass through, so creating holes beforehand is essential for smooth stitching.
Using a ruler and pen, mark a line parallel to the edge of your card holder, approximately 2 millimeters away from the edge. Then, use diamond chisels or a leather hole punch to create evenly spaced holes along the marked line.
Stitching the Card Holder
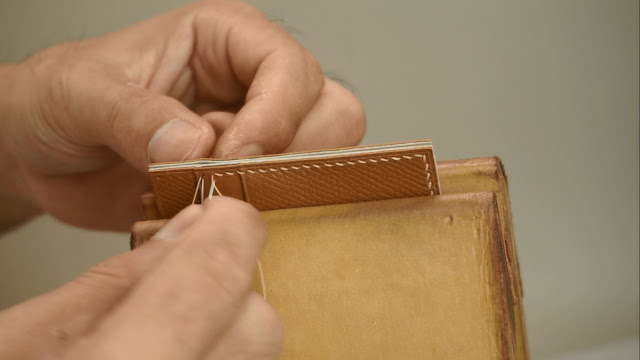
With your holes punched, it's time to stitch your card holder together. If you have a leather stitching clamp, this can help keep your card holder steady as you work. If not, you can simply use your knees to hold the card holder in place.
Thread two needles with polyester thread, tying a knot at each end. The length of thread you use should be roughly three times the length of the first half of your stitching path. Starting at one end of your card holder, pass the needles through the punched holes, stitching until you reach the last hole.
Repeat this process for the other half of your card holder. Once you have finished stitching, trim any excess thread and carefully burn the ends with a lighter to prevent fraying.
Finishing Touches
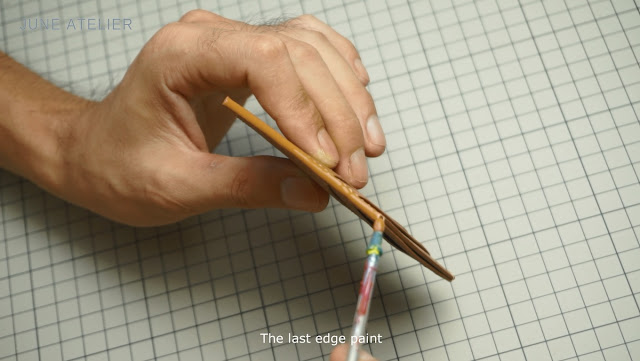
With your card holder stitched together, you can now add any finishing touches you like. This might include personalizing your card holder with your initials or a decorative design, polishing the edges for a smoother appearance, or applying a leather conditioner to protect and nourish the material.
Taking Care of Your Leather Card Holder
To ensure that your leather card holder stays looking fresh and lasts for years to come, it's important to take proper care of it. This includes regularly cleaning and conditioning the leather, as well as protecting it from excessive moisture, heat, and direct sunlight. By taking the time to maintain your leather card holder, you can enjoy the benefits of a beautiful and functional accessory for years to come.
Conclusion
Creating your own leather card holder is a rewarding project that allows you to showcase your craftsmanship and personal style. By following the steps outlined in this comprehensive guide, you can create a high-quality, durable card holder that will serve you well for years to come. Don't forget to take care of your leather card holder to ensure that it remains in top condition!


Comments
Post a Comment